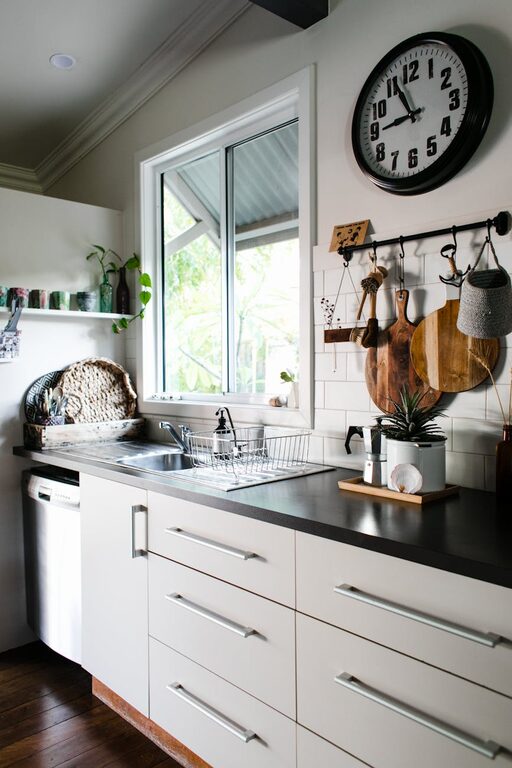
A cluttered kitchen counter can make cooking and cleaning feel like more of a chore than it needs to be. A tidy workspace not only looks better but can also improve your efficiency and enjoyment in the kitchen. If your counters are often piled with appliances, utensils, and miscellaneous items, don’t worry — creating a clutter-free kitchen is achievable with a few simple strategies and a bit of planning.
In this post, we’ll explore practical tips on how to make your kitchen counters clutter-free, helping you maintain a clean and organized space that’s a joy to use every day.
Why Keep Kitchen Counters Clutter-Free?
Before diving into the how, it’s helpful to understand the benefits of decluttering your counters:
– More workspace: Clear counters provide plenty of room for food preparation.
– Easier cleaning: Fewer items mean faster and more thorough cleaning.
– Visual appeal: A neat kitchen looks more inviting and spacious.
– Stress reduction: An organized environment helps reduce stress and improves focus.
Keeping these advantages in mind can motivate you to maintain a clutter-free zone.
Step 1: Clear Everything Off
Start fresh by removing everything from your counters. This helps you see how much space you actually have and what’s been crowding the area.
– Move items into labeled boxes or baskets temporarily.
– Clean the countertop surfaces thoroughly.
– Look at the items to decide what truly needs to stay on the counter.
Step 2: Sort Items Into Categories
Next, sort everything you removed into categories such as:
– Frequently used appliances (e.g., coffee maker, toaster)
– Cooking utensils and tools
– Spices and condiments
– Decorative items
– Items that belong elsewhere
Sorting allows you to evaluate what is essential for daily use and what can be stored elsewhere.
Step 3: Keep Essential Items Accessible
Identify appliances and tools you use daily or multiple times a week. These can stay on the counter but try to limit them to just a few pieces to avoid overcrowding.
– For example, a coffee maker might deserve a permanent spot, while your mixer can be stored in a cabinet.
– Use appliance garages or storage containers to keep items tidy when on display.
Step 4: Find a Home for Everything Else
Items not essential for everyday use should find a place inside kitchen cabinets, drawers, or pantry.
– Store less used appliances in cabinets.
– Use drawer organizers for utensils and tools.
– Place spices in racks or dedicated spice drawers.
– Relocate decorative items to dining rooms or shelves to free up prep space.
Step 5: Utilize Vertical Space and Smart Storage Solutions
Sometimes counter clutter comes from lack of storage. Using vertical space can help clear counters.
– Install hanging racks for pots and pans.
– Use wall-mounted shelves or magnetic knife strips.
– Consider tiered organizers inside cabinets to maximize space.
– Use hooks under cabinets for mugs or utensils.
Step 6: Maintain Daily Habits to Prevent Re-Cluttering
To keep your counters clutter-free, consistent daily habits are important.
– Clear counters after cooking by putting items back in their designated spots.
– Wipe down counters every day or after meal prep.
– Avoid accumulating random items like mail or keys — create a separate station for these outside the kitchen.
– Regularly assess and remove items you no longer use.
Bonus Tips for a Beautiful and Functional Countertop
– Invest in attractive containers: Use matching jars for sugar, flour, and coffee to reduce visual clutter.
– Choose multi-use appliances: Devices that perform several functions reduce the number of gadgets on your counter.
– Limit décor: One or two small decorative pieces can add charm without cluttering.
– Use trays or baskets: Grouping items together can keep the counters organized and easy to tidy.
—
Keeping your kitchen counters clutter-free doesn’t require a complete overhaul—just clear choices and a little organization. By following these steps, your kitchen can become a welcoming, efficient space where cooking and gathering feel effortless. Remember, the key is to keep only what you use regularly on display and give every item a proper home.
Happy organizing!


